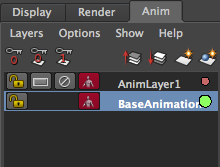
If you're using maya 2010 or above, I found a tool is extremely helpful for animation called "Animation layer". you can find it on the right bottom corner in maya.
It helps me to keep my curves clean and easy to manage when I design to add texture on my animation. I quickly did an animation (and a picture) for a demo to show how I use it and how it helps me.
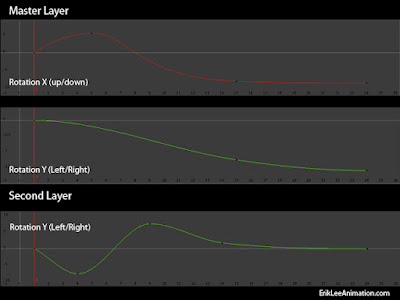
A simple head rise animation, on the left side is animation without texture, basically I got the timing and everything works in this layer. As you can see in the picture, the Rotation X (RX) is controlling the head rising, and RY here is simple, just slightly going down, which means the head has turn just a little.
It moves smoothly, but boring. The idea here is adding some textures to make it more interesting without messing up the original curves. So I select the head controller, create the animation layer, set keys on RY (start with 0 as default) for the head shake.
As it shows on the left in the video, now I'm not only have a head rise, but it also has a nice head shake as texture. Plus, thank to the animation layer, my curves are clean (in both layers). If I need to tone down the head shake later, all I need to do is going to second layer and scale the curve down.
In Sum, creating too many layers might lead you into chaos. However, it is a powerful tool to add things on top without mess up the original animation. I personally like to use it for the extra touch of final polishing, such as shaking or jiggling, and it only applied after the base animation get approved.
Hope this helps,
cheers.
No comments:
Post a Comment